Tuesday, January 31, 2012

Unseasonal bread for unseasonal weather...

In my corner of the globe, blueberries, raspberries, and strawberries are exceptionally inexpensive right now, as if it was the middle of summer.  And considering that Wednesday it is set to be 75 degrees here (@24 for other people around the globe), it sure is feeling a bit like the start of spring!

Now, my husband and I are about as green as we can possibly be, and I recognize that these berries are pretty tired by the time they get to Georgia.  But they are so stinking fragrant, and as I walk by their temporary grocery store homes, I determine that they need to be in muffins, quick bread, and then in my belly (oh, and cherries- is there a "Santiago, SC?).

So as I couldn't help myself, here is a quick berry bread recipe that is really, very much worth baking.  I know, because I have baked it twice.  The photo below is Sunday's successful attempt.


And this happened a month ago...


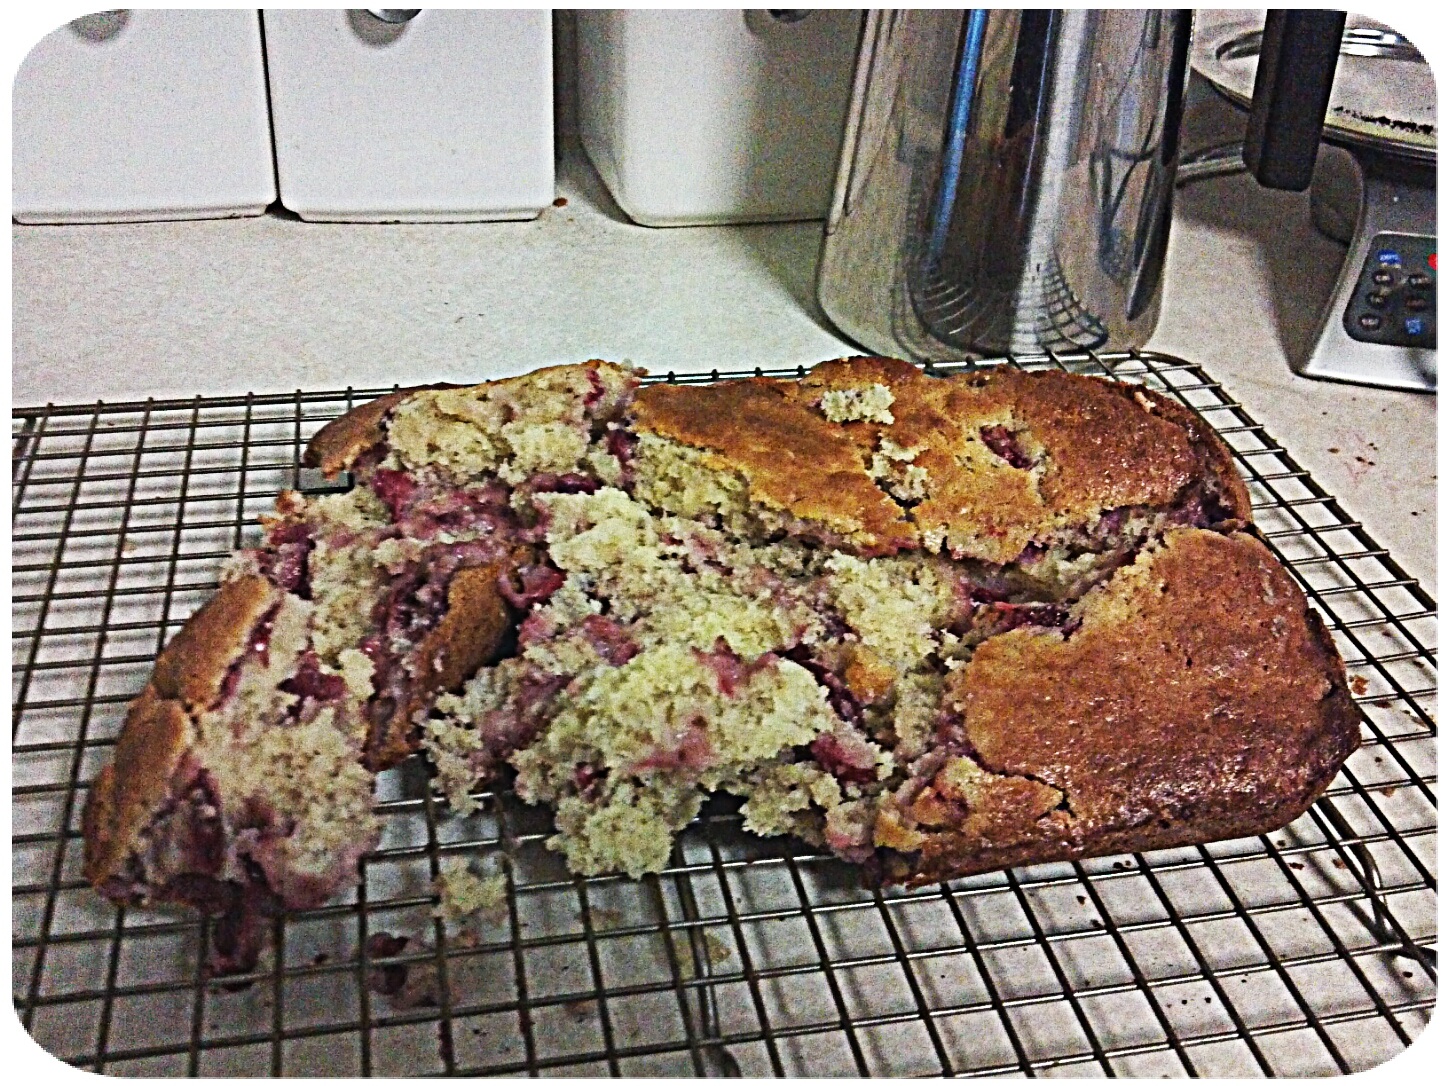
I was in a hurry.  I tried to dump it out of the pan too early.  We ate Starbucks that morning instead.

The crumbs were delicious.

Anyway, here it is.  Try for yourself:)

Mixed Berry Cream Cheese Bread
(adapted from My Baking Addiction)
1/2 C unsalted butter, softened
4 oz.  cream cheese
1 C sugar
1 t vanilla extract
2 eggs
2 C flour
2 t baking powder
1/2 t baking soda
1/2 t kosher salt
1/2 cup plain yogurt (I used greek)
1.5 cups mixed berries

Preheat the oven to 350.  Prepare a 9x4" loaf pan with butter and flour.  If you do not have a 9x4" pan (as I do not), fill the pan to 2/3 full, and then make some muffins with the leftovers.
Cream together the butter, cream cheese, vanilla, and sugar until light and fluffy.  Add the eggs one at a time, beating thoroughly between each addition.
In a separate bowl, whisk together the dry ingredients.  Add a third of the dry mixture to the butter mixture, and blend until incorporated.  Now, add 1/2 the yogurt, and mix thoroughly (scrape down the bowl between additions).  Now add half of what's left of the dry and mix in, then the remaining yogurt. Mix thoroughly and scrape down between additions.  Add the remaining dry, and stir to incorporate a few times.  Add the berries, and then stir everything together until just mixed.
Pour into prepared pan (or muffin tins), and bake for @50 minutes to an hour.  Enjoy warm!

Have a great day, y'all!

Rachel Bee

Monday, January 30, 2012

In Memorium Lamingtons...

My husband and I did a photo shoot last summer with a very unique couple.  She is a client of mine, and he, her quirky husband: an apparent medical marvel as he battled through his second bout of cancer.

Among all of the things that made him very cool (whip fashioning, boat building, cancer butt kicking, etc.), he was also Australian, and a son to Italian immigrants to that country.  Sydney, where a large part of my heart still resides (somewhere on George Street, I believe), was his home town; and in a city like our current one, treats like Tim Tms and Lamingtons brought us together in a special way.

I speak of him in the past tense as he chose to find rest last week, and I say it that way because that's actually how it happened.  As the beast ravaged his body, the man was still in charge; and held onto hope so much longer than anyone expected.

So when it became time to develop a recipe for Mr. P at Delicious Delicious Delicious for his annual "Reinventing the Lamington" contest, I thought it appropriate to give the Australian treat an Italian makeover.

Cue the Lazzaroni...

Cannoli Cake

Cannoli Cake

The Cannoli Lamington!

Two slices of butter cake are brushed with amaretto, and then sandwich sweet marscapone and ricotta cream that is studded with chocolate chips.  I then dipped it in melted bittersweet chocolate, and coated it in toasted almonds.

Labor intensive, but lovely...

Cannoli Cake

Cannoli Lamingtons
one recipe White Butter Cake, baked into a 13x9" pan (do not add the suggested citrus zest)
Amaretto Liqueur

1 container of Marscapone
1/2 c whole milk ricotta
1.5 cups sifted powdered sugar
1/2 t vanilla extract
pinch of kosher salt
1/2 c mini chocolate chips

10 oz bittersweet chocolate (for dipping)
*1 c toasted sliced almonds

Bake and cool your cake.  Honestly, You only see two lammingtons because I made mine from a 6" round I had in my freezer lest over from a previous project.
Take a square cookie cutter (or simply slice into squares), and create an even number of level squares.  Brush the squares with the amaretto Liqueur and set aside.

Blend the Marscapone with the ricotta until smooth.  Mix in the powdered sugar, salt, and vanilla, and blend until incorporated.  Stir in the chocolate chips.

Spoon an even layer of the cream onto half of the cake squares, and smooth gently (you don't want to agitate too many crumbs).  Top with the remaining cake squares, and work to make all sides even.

Melt the chocolate in a double boiler, and let it cool slightly so that it thickens up some.

There is no way to do this easily, but spoon, spread, dip, or squeeze the chocolate onto the sandwich, covering all sides (I did not cover the underneath).  Coat in the toasted almonds, and place in the fridge to harden and cool.

*to toast nuts, spread the nuts in an even layer onto a sheet pan, and place in a 350 oven.  Bake for 5-8 minutes, or until fragrant and slightly changed in color.

I hope to make a Cannoli cake soon.

You will be sorely missed, S.

Rachel Bee


Thursday, January 26, 2012

A January warm enough...

It's January, and it is so very warm.  One lady told me yesterday that it is a sign of the end times, but I think it's because Jesus loves the Biestmans; and He knows the Biestmans hate to be cold.

About a week ago I told you that I had a special shin-dig to attend last weekend, and it was wonderful.  I baked 175 cupcakes for the event, and afterward my husband took me to the beautiful Rosemary Inn Bed and Breakfast.  The following morning we did a wee photo shoot in and around the inn.  I had a little bed-head, but when one is dealing with someone as great as my husband, it really doesn't matter...


This is from my phone.  A third of the way through putting them in their boxes, I thought, "Crap!  A picture!"


And here is cupcake in the candlelight.

And here I am...


Rosemary Inn Bed and Breakfast

Rosemary Inn Bed and Breakfast

Rosemary Inn Bed and Breakfast

Rosemary Inn Bed and Breakfast

Rosemary Inn Bed and Breakfast

He is so sweet, and I like him lots.  Check his other work out here.

Have a great day, everyone.

Rachel Bee.

Thursday, January 19, 2012

Old Hollywood with a smidge of rock n' roll: hair tutorial...

Tomorrow is the volunteers' banquet at my church, and I would officially like to add about 8 hours to today.  However, since extending hours is not an option, I am up early to bring you another hair tutorial.

Last year I brought you this perspective on curling hair, and I still stand by it for the most part.  I do, however, want to give you a more glamourous option for the evening.  

Old Hollywood Hair Tutorial

  This is my modern take on an old Hollywood style: a ton of glamour, and a little rock and roll.  

Lets get started!

Start off with freshly blown out hair, prepped with volumizing mousse or spray. Dry with a wide side part.

Old Hollywood Hair Tutorial

Part off your fringe area at an angle, and pull it down toward your face.

Old Hollywood Hair Tutorial

At 0 degrees (do not lift your hair up!  You don't want volume in the fringe), curl your hair halfway up the hair shaft, and pin in place.

Old Hollywood Hair Tutorial

Old Hollywood Hair Tutorial

Old Hollywood Hair Tutorial

You can get a big box of these clips at Sally's for not very much at all.  

Do the section behind in the same fashion.  

Old Hollywood hair Tutorial

Old Hollywood Hair Tutorial

Start on the other side, angling toward your face.  

Old Hollywood Hair Tutorial

Old Hollywood Hair Tutorial

And continue around the sides...

Old Hollywood Hair Tutorial

Old Hollywood Hair Tutorial

Old Hollywood Hair Tutorial

Here, I have wrapped the hair around, and as I feed it through to be curled, I have the piece that I am feeding through on the bottom of the iron.

Old Hollywood Hair Tutorial

And I am doing the same thing on the other side.  Do not feed it through on the top.  

Continue curling and pinning all the way around, but curl horizontally through the back.  Curl and pin until you look awesome, something like this...

Old Hollywood Hair Tutorial

Keep your hair in the pins until the hair is completely cool to the touch.  Then pull out your pins, starting from the bottom.  You should reveal something like this...

Old Hollywood Hair Tutorial

Now, brush through all of your curls, repeatedly.  You will not ruin them if you began with clean hair.

Old Hollywood Hair Tutorial

You are trying to form the curls together, giving them one, seamless line of curl.  
At the to of your hair shaft, push your hair up with your palm to form waves.  

Old Hollywood Hair Tutorial

Even pick up a section of hair at the top (if your hair is layered), and brush it together for more waves at the top.  

The end result should be this...

Old Hollywood Hair Tutorial

We could leave it here, but a southern girl needs some volume.  

Take your fingers and rake through your perfect coif.  Push it up...

Old Hollywood Hair Tutorial

... and really get your hands in there.  

Old Hollywood Hair Tutorial

And done!  I hope you enjoy playing with this one! 

Have a great day, and I'll see you on the other side.  

Rachel Bee

Monday, January 16, 2012

Ballerina Bun How to...

A year ago I saw this picture...


... and I have been in love with the style ever since.

Before you attempt the style, you must have moderately long hair, and a hairline that is moderately straight.  This style is very dramatic, but classically feminine.  If you have the length for it, I suggest you try it!  Besides, it is super easy.

Start with hair that has been shampooed in the last 24 hours, and prepped with mousse or styling spray.  I really recommend that you do not do this on very dirty hair, as you will be doing a lot of work to brush it up- distributing the surface oils on your scalp.

Start by brushing your hair in every direction, eventually up into a pony tail at the highest point of your head.  Although it's popular, I do not recommend a knot on the top of your head.  It is a bit too avant garde for Augusta, GA.

Ballerina Bun Tutorial

Ballerina Bun Tutorial

If you tilt your head up as you are forming a pony tail, it will not sag at the base of your neck.

Top Knot Tutorial
Work as hard as you can to pull your hair smooth across your scalp.  Form your pony tail, and use an elastic to secure.  Very important: ALWAYS work with a hand mirror to check out the back and sides when you are doing your own hair.

Now, using a teasing comb, back-comb your hair to oblivion.

Top Knot Tutorial

That's right.  Hold your ponytail up, and using an up and down motion with your teasing comb, get it up, up, up there!

Now, place your index finger in the middle of that mess, all the way to the center of the elastic.

Ballerina Bun Tutorial

Begin to comb and fold the hair around, in one direction.

Ballerina Bun Tutorial

When you are satisfied with how a section looks, run a slightly open bobby pin across the surface of the  bun (barely skimming the surface of the bottom inch of the bun), and once the open part of the pin hits your scalp, fold it over and push it under the bun.

Top Knot Tutorial

Continue to work your way around until you are satisfied, re-teasing if needed, and do not over-pin. This style may require 5 bobby pins, really.

Now, to finish- use a very, very good hairspray, and spray it in the direction of the bun.  Wait for 5 seconds, and use your hands to smooth in the direction of the bun.  Continue and do the back and sides of your hair.

Ballerina Bun Tutorial

Ballerina Bun Tutorial

Aw, look at me!  Dangly earrings at all!

Ballerina But Tutorial

Ballerina Ballerina Bun Tutorial

This is what the top of it looks like.  Not perfectly symmetrical, but more than satisfactory.

Now, for everyday wear, rub your hands back and forth over the surface of your hair to rough it up a little.

Or to look like an old schoolmarm/hipster, add some glasses and an old scarf...


Have a great day!

Rachel Bee

Friday, January 13, 2012

Toffee Coffee Cake Recipe...

Over a week ago I promised a cake recipe, and I am here to fulfil my promise!


Even if quite a bit late...

Toffee Coffee Cake
(makes one 9" layer cake)

White Butter Cake (slightly adapted from Joy of Baking)
2 sticks unsalted butter, softened
2 cups sugar, divided
2 t vanilla extract
4 eggs, separated and room temperature
.5 t cream of tartar
3.5 cups cake flour
4 t baking powder
3/4 t Kosher salt
1 cup whole milk, room temperature

Cream the butter together with 1.5 cups of sugar and vanilla extract until light and fluffy.  Add the egg yolks, one at a time and beat until blended after each addition.  Set aside.

In another bowl, perfectly free from grease (use a paper towel coated in vinegar to wipe it down if you are unsure), add the egg whites, and beat on high until foamy.  Sprinkle in the cream of tartar, and then continue to beat until soft peaks form.  Gradually add the remaining sugar, until a stiff meringue is present.  Set to the side.

Mix the remaining dry ingredients into a bowl and whisk together.  Add a third of the flour mixture to the original butter/egg mixture, and mix until incorporated.  Scrape down the bowl and add 1/2 of the milk, gradually.  Mix until incorporated.  Continue alternating flour and milk, ending with the flour mixture.

Fold in the meringue to the batter, spread into 2 buttered and floured 9" pans, and bake in a preheated oven for @30 minutes, or until a skewer inserted into the center comes out clean.  Remove from the oven, and place on a baking sheet to cool for ten minutes.  Remove from the pans, and let cool completely before frosting.

Whipped Coffee Cream Cheese Frosting
2 sticks unsalted butter, softened
1 block brand name cream cheese
3.5 cups powdered sugar, sifted
1.5 packets of Via (Starbucks brand instant coffee), columbia
1 t vanilla extract
pinch of Kosher salt

In a large bowl, cream the butter and cream cheese together.  Add the powdered sugar and mix until incorporated.  Add the Via, vanilla, and salt, and beat for 3-5 minutes, scraping down the bowl as needed.

1 recipe Toffee.

How to assemble:

Fill and frost the cake.  Break up the toffee into small pieces and coat the outside of the cake.

Enjoy!

Rachel Bee


Wednesday, January 11, 2012

Choosing a part: your best you!

Apparently some of you were let down that something worse didn't happen as a result of yesterday's story, and I am sorry.  But standing there looking something like this...


is mortifying enough.  May it never be done again, as Drew and I have both learned our lessons.

Amen.

So anyway, I would like to take a moment to talk about formal styles.  For brides, it is common place to choose by the rear and profile appearances, but when you are in a sea of black dresses, I believe one should focus on the front.  And that's why I want to talk about your best "you."

Your part.

I believe that hairstylists aren't bold enough to talk with their clients about their part lines, ie where your hair falls around your face.  There are a few factors to consider when you choose your part.

1.  Cowlicks.  Yes, that's spelled "cow-lick," as if a cow came up to you and licked the front of your head, creating a non-negotiable seam at your forehead.  Some people have stubborn, outrageous cowlicks, and unfortunately mother nature has chosen their part line.  Some have only mild cowlicks which are easily negotiated.

2.  Thickness.  Some people have very thin hair on one side of their heads.  It is common place to make a very deep side part, and pull over all of the hair from the top of the head to compensate for what is missing on that side.  I believe this is perfectly acceptable, and encourage it at times.

3.  Trend.  I love trend.  I was the second stylist in Augusta to jump on the "Featherlock" bandwagon, and I am sporting the ombre hair color as we speak.  I love trend when it comes to parts as well, as long as beauty is a consideration.  A few years ago it was a trend among young people to start a "side part" two inches down one side of a head and pull it all the way down to the other side, leaving nothing but a few lonely strands dripping down her opposite shoulder.  It came out of nowhere, and it was hideous.  A deep side part, or a center part are both very trendy, and beautiful for some people.

Outside of that, the part is a great way to change a look almost completely, without permanent change.  I encourage you to grab a friend, and try a little experiment.

Start with your normal part, and share with a confidante.


Mine is no different than most: to the side, just off center.  I am growing out a massive fringe, so my bang-area can look strange at times, but this is a pretty average hair day.

And now, a deep side part.


This can be a very dramatic look, and is good for someone who wants the look of bangs, but doesn't want full-on fringe commitment.  But notice how the look of my face changes.  In my opinion, my face looks fuller here.  However, the strong side part detracts from the asymmetry in my eyes.

And last, the center part...


I was surprised by this photo, as I believe that this is my best "me." I believe it opens my eyes wider, and puts a focus on my strong jaw line.  The center part draws a virtual line down the middle of one's face.  It causes the beholder to search for symmetry, which (believe it or not) most of us do not have in our features.  The right side of my face is lazy.  My teeth are more crooked, my lips are less full, and I have more scarring and acne on that side (when I break out).

What do you think?  Do you prefer the center part as well, or do you have a differing opinion?  Go ahead.  I can take it.

In the meantime,  have fun looking for your "best you," and then be sure to apply that to your formal "do."  Center parts look best with very loose, romantic and low chignons, while a deep side part looks wonderful with more severe or classic styles.

Have fun, and enjoy the tutorials that are coming soon!

Rachel Bee